Lighting Continuity for Film Productions UK | Light as Air
Learn how to maintain lighting continuity across film and music video shoots with practical techniques, equipment planning and professional lighting support in the UK.
lighting continuity UK, film lighting continuity, music video production lighting, film lighting equipment hire UK, cinematography lighting setup, lighting for multi-day film shoots, professional film lighting, LED film lights hire UK, HMI lighting equipment, tungsten film lights, film production equipment UK, lighting setup for video production, lighting consistency in filmmaking, continuity in cinematography, lighting equipment rental London, film crew lighting planning, lighting equipment for music videos, production lighting accessories, film lighting stands and grip, lighting equipment sales UK, film production lighting supplier, camera lighting continuity, lighting equipment checklist, lighting for indoor film scenes, lighting for location filming, UK film production services, lighting control techniques, cinematography equipment hire, lighting plans for film crews, professional lighting support Surrey, Light as Air film lighting.
Introduction
A successful film or music video depends on more than a powerful camera, talented performers and an attractive location. The visual experience also relies on consistency. When a scene is filmed from different angles, repeated across several takes or completed over multiple days, the lighting needs to remain believable and visually connected.
This is where lighting continuity becomes essential.
Lighting continuity is the process of maintaining a consistent and intentional lighting appearance throughout a production. It includes controlling the direction, intensity, colour, softness and position of light so that shots edited together feel as though they belong to the same scene.
For productions working across London, Surrey and other parts of the UK, continuity can become challenging when daylight changes, locations vary or equipment needs to be repositioned between setups. A well-organised lighting plan helps cinematographers and lighting teams reduce these problems while keeping production efficient.
Production teams can explore the film lighting equipment available from Light as Air when planning the equipment required for their next project.
1. What Is Lighting Continuity and Why Does It Matter?
Lighting continuity means preserving the intended visual relationship between shots. It does not require every shot to have identical brightness. Instead, the lighting should remain consistent with the scene's established look and the creative intentions of the director and cinematographer.
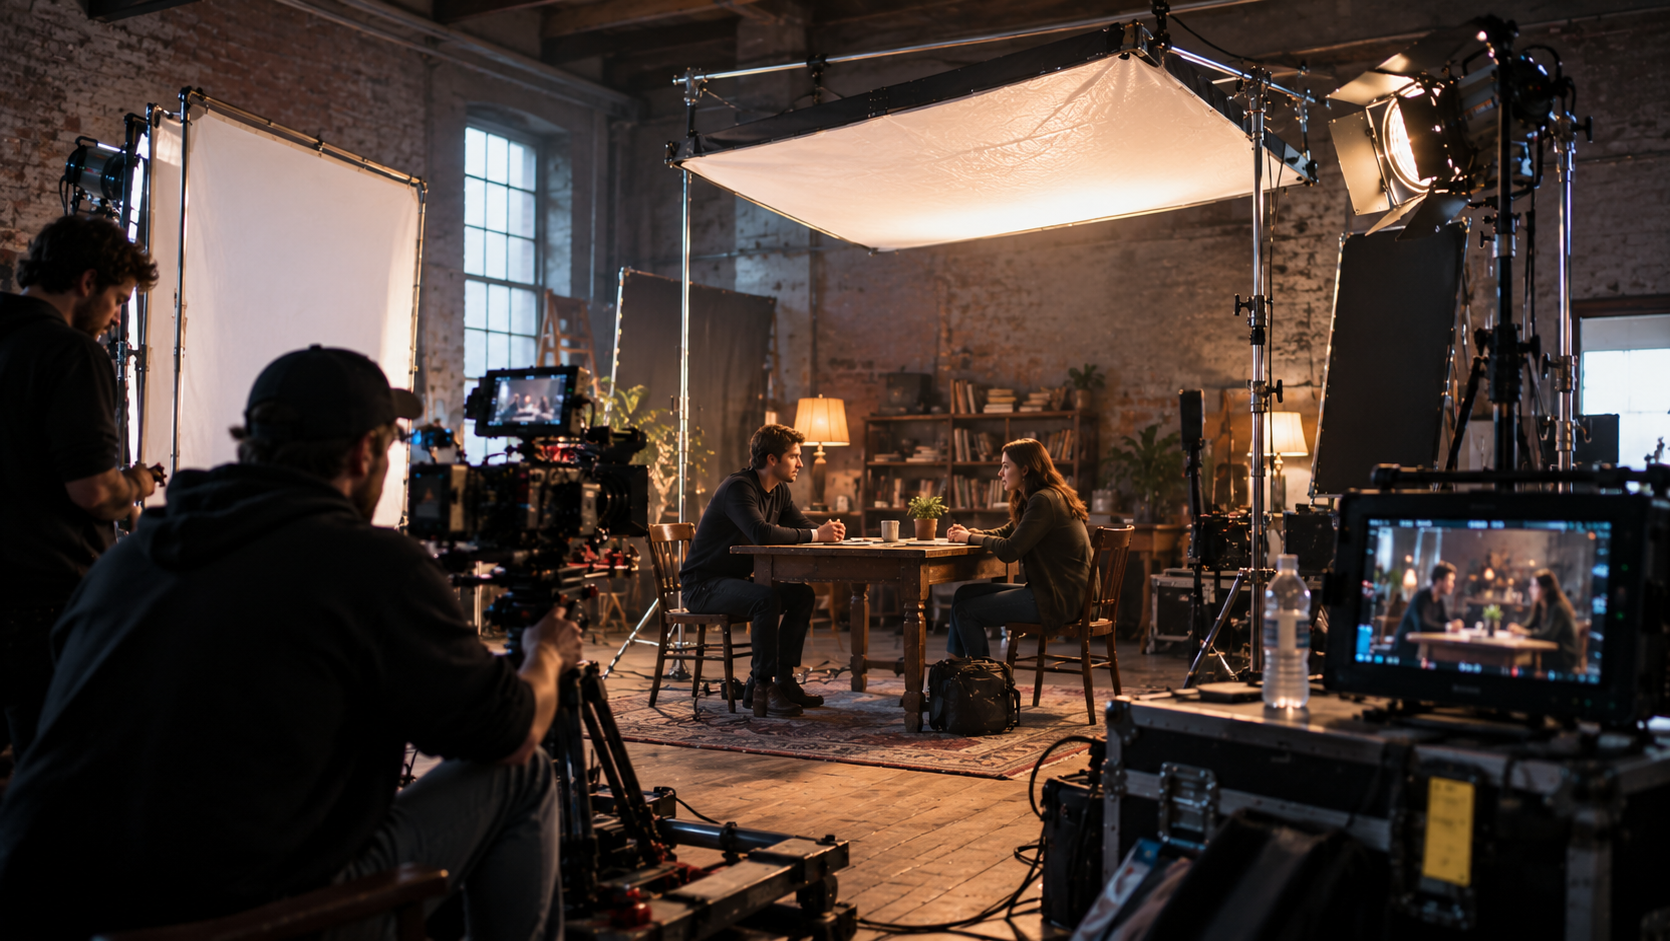
Imagine filming a conversation between two actors. The first actor is recorded with soft light coming from a window on the left. When the camera turns to the second actor, the key light suddenly appears to come from the opposite direction without a believable reason. The edit may feel unnatural, even if each individual shot looks attractive.
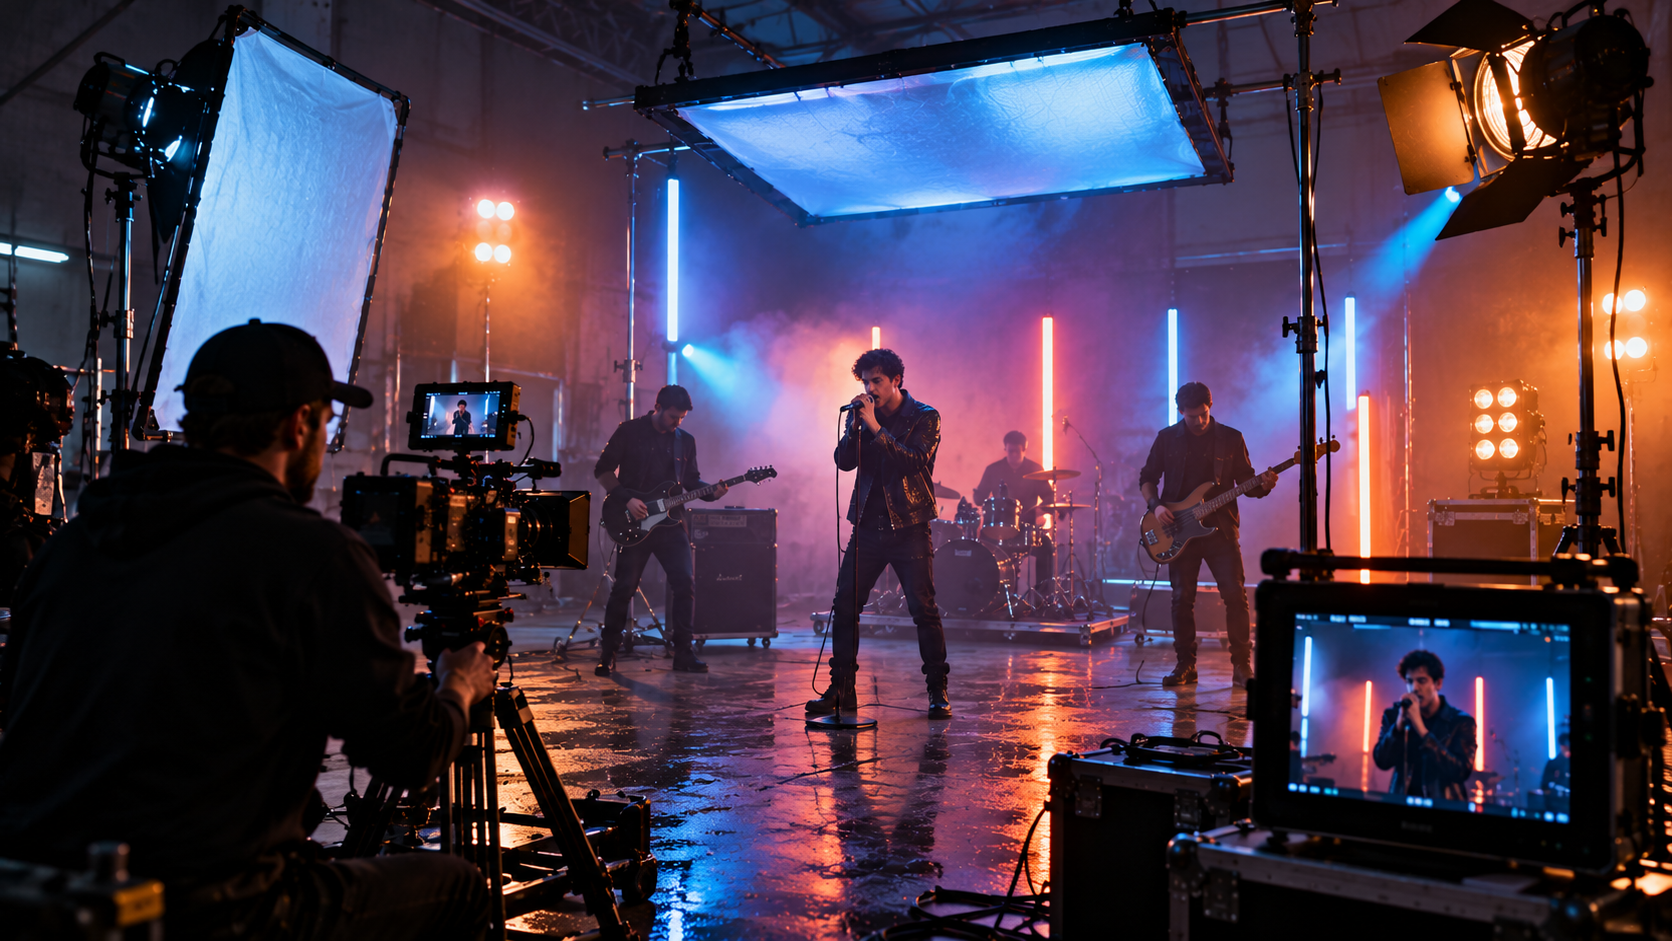
The same issue can affect music videos. A performer might be filmed against a dramatic blue background, but the next angle could show a different colour temperature or inconsistent shadows. These small differences can interrupt the visual rhythm.
Good lighting continuity helps productions achieve:
- More natural edits between camera angles.
- Consistent skin tones and colour relationships.
- Believable changes in time, location and atmosphere.
- Better control over the final colour-grading process.
- Fewer lighting-related reshoots and corrections.
- A more polished and professional visual result.
Continuity also makes collaboration easier. When the director, cinematographer, gaffer and camera team understand the established lighting approach, they can make changes without accidentally compromising the overall look.
2. Create a Lighting Reference Before Filming
One of the most effective ways to preserve lighting continuity is to document the lighting setup before the first take.
A reference does not need to be complicated. It can include photographs of the set, a simple lighting diagram, notes about fixture positions and a record of the camera settings used for important shots.
For a dialogue scene, the reference might identify the key light, fill level, backlight, background illumination and the direction of the main light source. For a music video, it might document the positions of coloured fixtures, practical lights, haze and performer marks.
A useful lighting reference should record:
- Fixture type and approximate position.
- Height, angle and distance from the subject.
- Diffusion, bounce or light-control accessories.
- Colour temperature and colour effects.
- Dimming levels or output settings where available.
- Camera position and performer marks.
- Relevant exposure and white-balance settings.
- Any changes made for specific shots.
Photographs are especially helpful when a set needs to be rebuilt after a break or when several departments share responsibility for the same scene.
For more complicated productions, a lighting diagram can prevent confusion during equipment moves. Keeping this documentation alongside the production schedule also helps the team identify which setups must be recreated later.
3. Choose Equipment That Supports a Consistent Look
The equipment selected for a shoot affects how easily the crew can maintain continuity. Different fixtures produce different qualities of light, and not every source is suitable for every environment.
LED fixtures can offer flexible output and colour control, making them useful for many contemporary music videos, interviews and controlled studio scenes. HMI fixtures can provide powerful daylight-balanced output for certain exterior simulations or situations requiring substantial illumination. Tungsten fixtures can provide a warm source when that quality is appropriate to the creative brief.
The choice should depend on the scene, available power, working distance, camera requirements, heat management and production budget.
Explore the LED lighting category to begin assessing available equipment options. For productions requiring daylight-balanced sources, the HMI lighting equipment category is another useful starting point.
When planning a specific fixture, review its actual specifications, compatibility, output and operating requirements rather than assuming that two lights of the same general type will behave identically.
Consistency also depends on modifiers. Softboxes, diffusion frames, reflectors, flags and grids can change the character of a source significantly. If a scene needs to be recreated, recording the modifier and its placement can be just as important as recording the lamp itself.
4. Manage Natural Daylight on Location
Natural daylight is one of the biggest challenges for lighting continuity. Cloud cover, the sun's position and reflections from nearby buildings can change the appearance of a location within minutes.
A scene filmed beside a window in the morning may look completely different in the afternoon. Even when the camera remains in the same position, the direction and quality of daylight may change enough to create visible differences between takes.
The first step is to assess the location before filming. Identify the direction of incoming daylight, the windows or openings affecting the scene and any reflective surfaces that might influence exposure.
Useful approaches include:
Control the light entering the space. Blackout curtains, flags or other suitable light-control materials can reduce unwanted daylight changes where the location permits their use.
Create a consistent key source. A controlled fixture can help establish the primary direction and quality of illumination, particularly when natural light is being used as an additional source.
Use diffusion and bounce carefully. Diffusion can soften direct light, while bounce can help maintain a consistent fill level. The effect should be checked from the actual camera angle.
Record changes throughout the day. If daylight is an intentional part of the look, note its direction and character at important points in the schedule.
Plan shot order intelligently. Where possible, group shots that depend on similar daylight conditions rather than returning to the same setup several hours later.
For exterior filming, the crew should also consider weather, available power and the safe positioning of stands and equipment. A lighting plan should be adaptable without losing the visual logic of the scene.
5. Match Colour Temperature and Colour Effects
Colour differences are not always obvious to the eye on set. However, when shots are placed next to each other, differences between sources can become distracting.
Colour temperature influences whether a source appears relatively warm or cool. Different fixtures may also have different spectral characteristics, so matching their nominal colour-temperature settings does not automatically guarantee identical results.
For consistent footage, the camera and lighting teams should establish a clear approach to white balance and colour management.
First, determine whether the scene should have a neutral appearance or a deliberate warm, cool or mixed-lighting effect. Then select the sources and modifiers that support that decision.
For example, a music video might use cool blue light behind the performer while keeping the face relatively neutral. The blue background should remain visually consistent across camera angles unless the creative direction calls for a change.
When using coloured LEDs, record the selected colour settings where possible. When mixing daylight and tungsten sources, decide whether the contrast between them is intentional or needs to be controlled.
A colour chart or neutral reference can help the camera team assess the result, while a test recording provides a more reliable basis for decisions than judging the set by eye alone.
6. Build a Repeatable Lighting Setup for Music Videos
Music video production often involves repeated performances, close-ups, wide shots and multiple camera positions. A repeatable setup helps the team preserve the same atmosphere while adapting the lighting for different compositions.
Start by identifying the visual elements that must remain consistent. These may include the direction of the key light, the colour of the background, the visibility of practical lights and the contrast between the performer and the set.
Next, separate the lighting into functional layers.
Key light: Establishes the primary illumination on the performer.
Fill light: Controls how much shadow detail remains visible.
Backlight or rim light: Helps separate the performer from the background.
Background lighting: Adds depth, colour and atmosphere to the environment.
Practical lights: Visible sources within the frame that contribute to the scene's design.
Not every setup needs all five layers. The important point is to understand what each source contributes and which elements should remain unchanged between shots.
Before moving the camera, record the original setup and capture a short test. If the next angle requires an adjustment, make it deliberately and document the change so that the original look can be restored.
7. Do Not Overlook Grip, Stands and Lighting Accessories
Lighting fixtures are only one part of the production setup. The equipment used to position, shape and control light is equally important.
Stands support fixtures and modifiers at the required height. Grip equipment helps position flags, frames and other light-control tools. Distribution and cables support the electrical setup, while suitable accessories help the team adapt sources to the needs of each scene.
Explore the grip equipment category when planning the tools required to position and control light. Review the generators and batteries category if the production requires suitable portable power options.
Before filming, check that equipment is appropriate for the intended load and environment. Secure stands correctly, use suitable ballast where required and keep cables routed to reduce trip hazards. Electrical distribution should be planned by competent personnel in accordance with applicable safety requirements.
A tidy, documented equipment layout also makes it easier to return fixtures and accessories to their original positions after a camera move.
8. Plan Equipment Rental Around the Production Schedule
Lighting continuity becomes harder to maintain when equipment availability is uncertain or when a crew must change fixtures halfway through a shoot.
An equipment list should be created from the shot list and lighting plan. It should identify the main fixtures, modifiers, stands, grip items, cables, distribution requirements and any backup equipment considered necessary for the production.
The rental period should account for preparation, testing, filming and returns. If a scene may need to be repeated, the crew should establish whether the same equipment can be retained or whether a suitable replacement will be available.
Review the lighting equipment available for rental and the equipment available for purchase to assess possible options for different production needs.
For a specific fixture, such as an ARRI M90 HMI available for rental, confirm its availability, operating requirements and suitability for the intended setup before committing to the shot plan.
Rental decisions should be based on actual production needs rather than simply selecting the largest or most powerful equipment. The right combination of fixtures and accessories can make the set easier to manage and the lighting easier to reproduce.
9. Prepare a Continuity Checklist for Every Setup
A short checklist can prevent avoidable inconsistencies when the crew moves between shots.
Before recording, confirm the following:
- Are the key, fill and backlight positions consistent with the reference?
- Have the fixture settings and colour effects been checked?
- Is the light direction believable for the scene?
- Have diffusion, flags and bounce surfaces remained in the intended positions?
- Are practical lights switched on at the correct levels?
- Is the camera using the intended exposure and white balance?
- Have the performer and camera marks been preserved?
- Has a reference photograph been taken before equipment moves?
- Are stands, cables and power connections safe?
- Has the team reviewed a test recording?
For a multi-day shoot, store the references in a location accessible to the relevant crew members. Clear naming, date information and scene numbers make it easier to find the correct setup later.
The checklist should support the creative process rather than restrict it. If the director or cinematographer decides to change the look, document the new direction so that later shots follow the updated plan.
10. How Light as Air Can Support Lighting Preparation
Production teams working across the UK need to consider both the creative and practical sides of lighting. Equipment selection, transport, setup requirements and the demands of a location all influence the final result.
Light as Air provides a starting point for exploring lighting equipment categories, rental listings and sale listings for film and television production requirements.
Before choosing equipment, define the intended look, estimate the lighting requirements and check the suitability and availability of each item. For unfamiliar fixtures, confirm the operating instructions and any additional equipment needed for safe use.
A well-planned lighting package gives the crew more control over how scenes are reproduced. Combined with reference photographs, lighting diagrams and good communication, the right equipment can help reduce unnecessary adjustments during production.
Frequently Asked Questions
What is lighting continuity in filmmaking?
Lighting continuity is the process of maintaining a consistent lighting appearance across shots so that edits feel natural. It involves managing light direction, intensity, colour, shadows and the position of fixtures.
How can filmmakers maintain lighting continuity across multiple days?
They can photograph each setup, create lighting diagrams, record fixture settings, preserve camera and performer marks, and document any changes to the scene's lighting design.
Which lighting equipment is useful for music video production?
The choice depends on the creative brief. LED fixtures, HMI sources, tungsten fixtures, diffusion, reflectors, flags, stands and grip accessories may all be useful in different circumstances.
Why does colour temperature matter for continuity?
Differences in colour temperature can make shots look inconsistent when edited together. Establishing a colour approach and checking test recordings helps the crew identify unwanted differences.
Can natural daylight create continuity problems?
Yes. Weather and the sun's position can change the direction, intensity and colour of daylight. Light control, careful scheduling and a consistent supplemental source can help manage these changes.
How can lighting continuity reduce production costs?
It can reduce avoidable resets, lighting corrections and reshoots. Good documentation also makes it easier to rebuild a setup when a scene must be filmed again.
Where can UK production teams find film lighting equipment?
Production teams can explore Light as Air's equipment categories, rental listings and sale listings before confirming the suitability and availability of specific items.
Conclusion
Lighting continuity is a practical production discipline that protects the visual consistency of films, music videos and other screen projects. It combines careful planning, equipment knowledge, communication and repeatable working methods.
By documenting setups, managing daylight, matching colour, organising grip equipment and checking every important camera angle, production teams can create a more consistent visual result without sacrificing creative flexibility.
For UK productions, preparation should begin before the first fixture is switched on. A clear lighting plan and a suitable equipment package help the crew spend less time solving preventable problems and more time creating the intended image.